Between innovations in image technology and the falling costs of DIY production, learning the ins and outs of video creation has never been easier. This became even more evident when we shifted to remote work life. In 2020, overall video creation grew by 135%, and 60% of those business videos were user-generated.
There are tons of reasons and ways to leverage video marketing to drive your business forward. Some of the most effective business videos focus on a single subject speaking directly to the camera to convey a message. For folks recording their own talking-head videos, these can be used for:
- Executive or departmental updates
- Project kick-offs outlining main goals and messaging
- Quarterly reports and business success presentations
- How-tos, explainers or tutorials
- Demos of tips and tricks to using your product like the Lego example below
- Live webinars or conferences
Video content doesn’t need to be highly produced to be effective. With just a mobile phone or laptop and a few tricks of the trade, you can easily create polished videos in a remote environment. In this article, we’ll walk you through setting up your remote video production, step-by-step.
1. Follow the 60/40 rule for pre-production
When you’re excited about an idea for video content, you might be eager to jump right into recording. However, your final product depends on the work you do upfront.
The 60/40 rule for pre-production rule means that 60% of your effort should be allocated to fine-tuning your plan and logistics before shooting. This includes concepting, treatment, storyboarding, scripting, prepping your tools and location scouting.
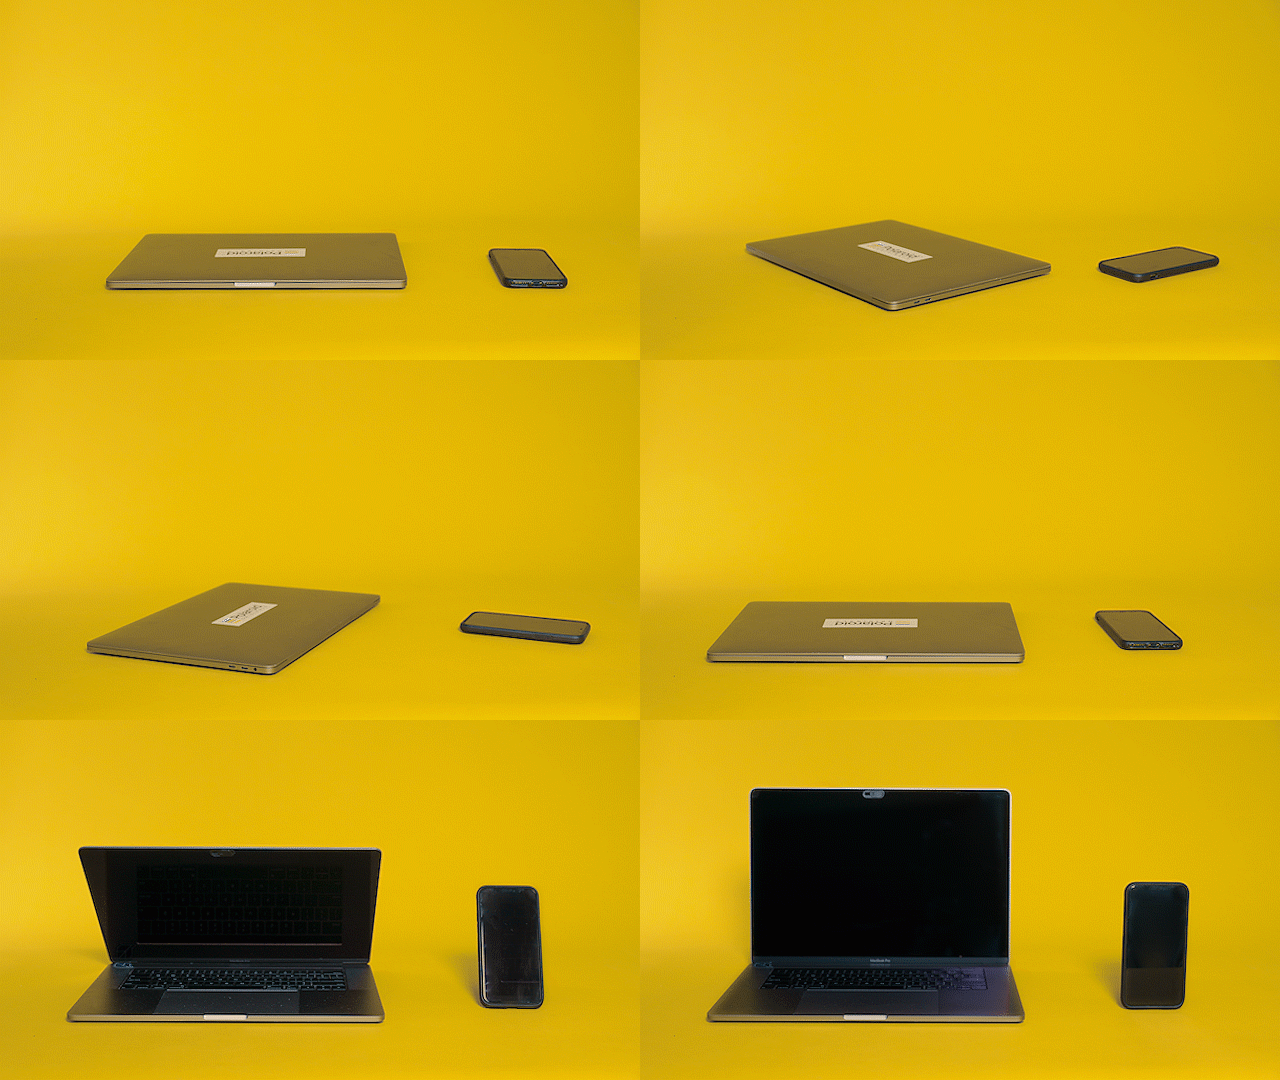
2. Choose a recording device
When choosing a recording device, consider your output quality, distribution channels and goals.
If you have an HD camera, power to you! A DSLR or mirrorless camera will afford you the highest quality image and output options. But if you’re working on a budget and have minimal video production experience, your mobile phone or laptop will do the trick.
Laptop
Use your laptop’s built-in camera and simple pre-installed recording apps like QuickTime. With additional support from video recording tools like CloudApp or Vidyard, which can be downloaded for free, you can also present your screen to walk through slides or other visual support elements as you speak. The only slight limitation when using a laptop is that most laptop cameras produce lower-quality.
Smartphone
Smartphone manufacturers are constantly working to create the most cutting-edge, high-definition cameras. Unless you’re still rocking a flip phone, your phone camera is a great option to use for filming.
No matter which device you choose, make sure that it’s charged and has enough storage capacity before filming.

3. Accessorize
Once you’ve nailed down your filming plan and which recording device, it’s time to accessorize. There are a few other pieces of equipment that will support your shoot and lead to better quality footage.
Tripods and stabilizers
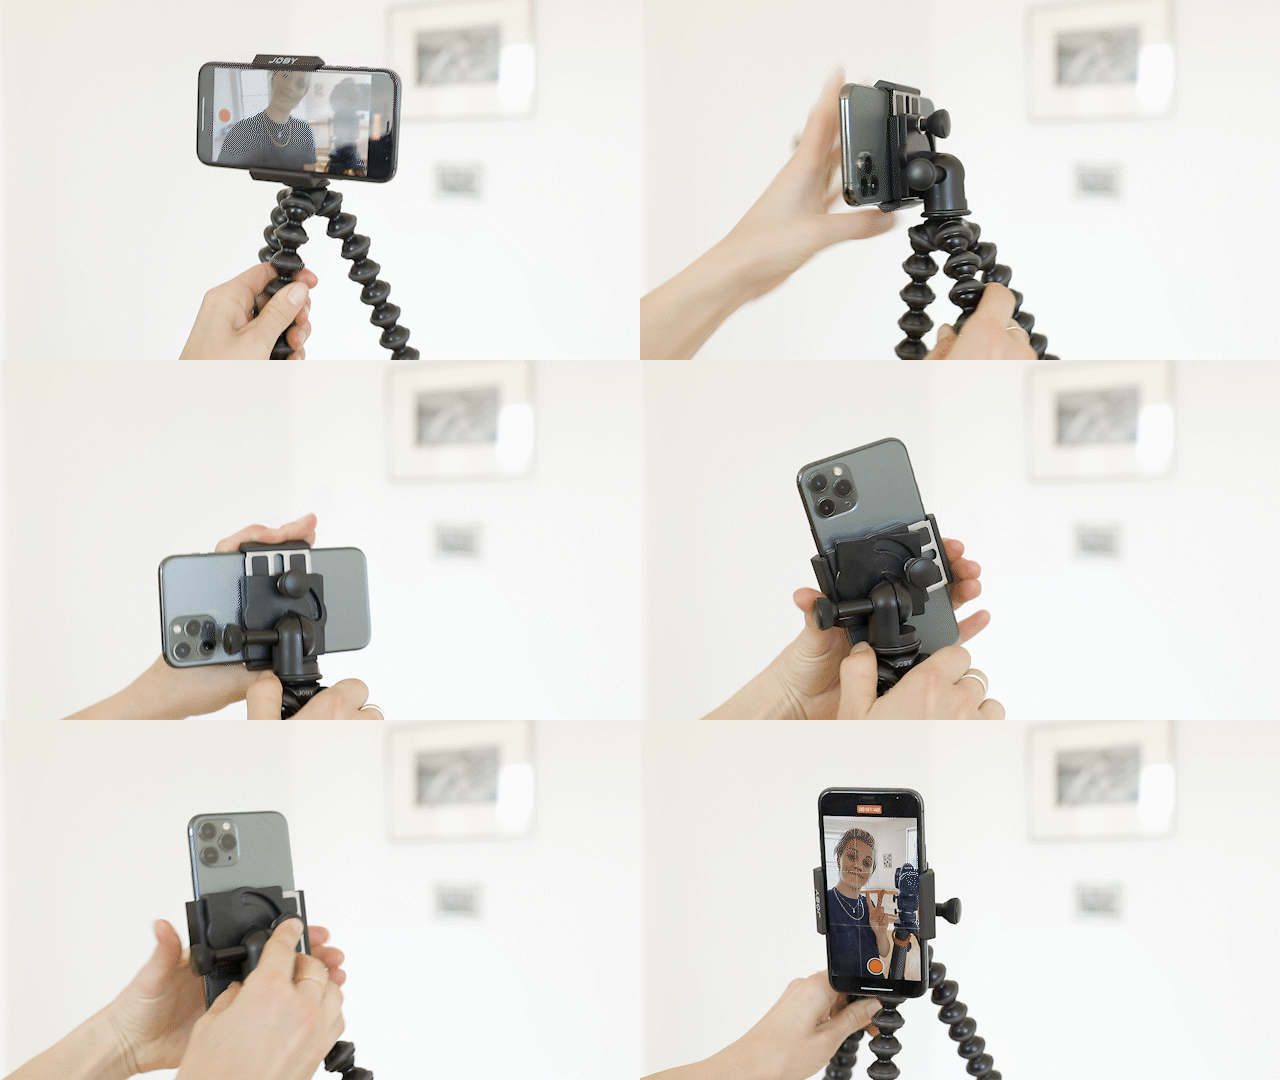
Shaky footage is a major distraction and can undermine the integrity of your video. Supporting your camera is important for a steady shot that holds the frame that you intend. There are a lot of inexpensive tripods, stands and stabilizers that you can purchase, or try out one of many DIY options. A tripod will also give you more flexibility with where you can film.
One benefit of filming with your laptop is having a built-in, stable camera. Keep in mind that the number one talking-head recording rule is to align your laptop or phone with the height of your eyes or forehead, whether seated or standing. With a laptop, you can use a bookshelf, windowsill or laptop stand to raise your camera to the right height.
Storage
We touched on the importance of having storage space on the camera itself, but it’s also a good idea to have an external hard drive or a cloud storage option to transfer and save video files.
Battery backups
Remember to fully charge batteries, phones, tablets, lights and laptops ahead of time so you don’t have to halt production. For backup, consider having all chargers available in between shooting.
Lights
Sunlight is the best light, but it’s not always an option. Video lights are a great investment if you produce video content regularly. They allow for even lighting in most indoor environments and often have adjustable settings to fine-tune their output. If you are shopping for a panel or ring light be sure to look for bi-color settings that mimic both daylight (a cooler bluer color) and tungsten interior lighting (a warmer, oranger light).
Microphone
Shooting with the internal mic of your smartphone or laptop, or using wireless headphones will provide decent sound quality, but if you’re producing video content regularly, investing in a microphone is a smart idea. It will give you higher sound quality while letting you move farther from your camera for wider shots and demonstrations.
4. Choose your layout
Consider how your audiences will most likely be watching your video. If you’re shooting for mobile, choose a vertical format. If people will be mostly viewing from their laptop, go horizontal. Stick with that format throughout your video for consistency.
5. Prep your location
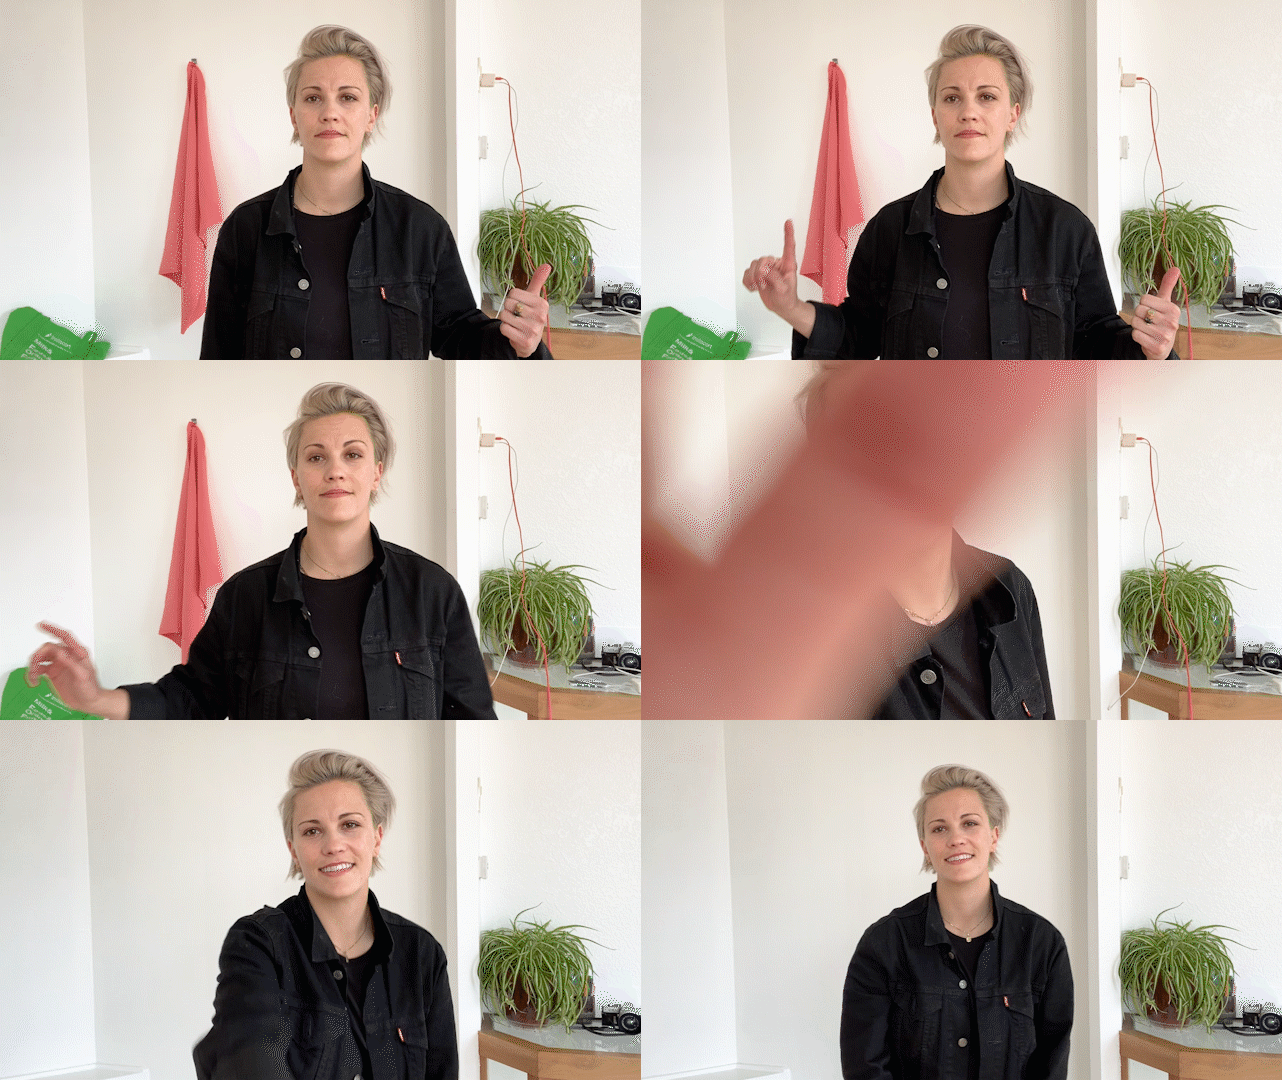
When filming interviews, mini-docs, process videos and creative projects, using multiple locations will increase your production value and bring context and variety to the audience. However, a lot of very engaging content can be made in an office, studio or at home.
No matter where you’re shooting, a prime filming location should have:
- A large window or light source in front of you
- A quiet environment for clear audio
- Options for you to configure your camera at eye-level
- A tidy background with minimal distractions
6. Find your light
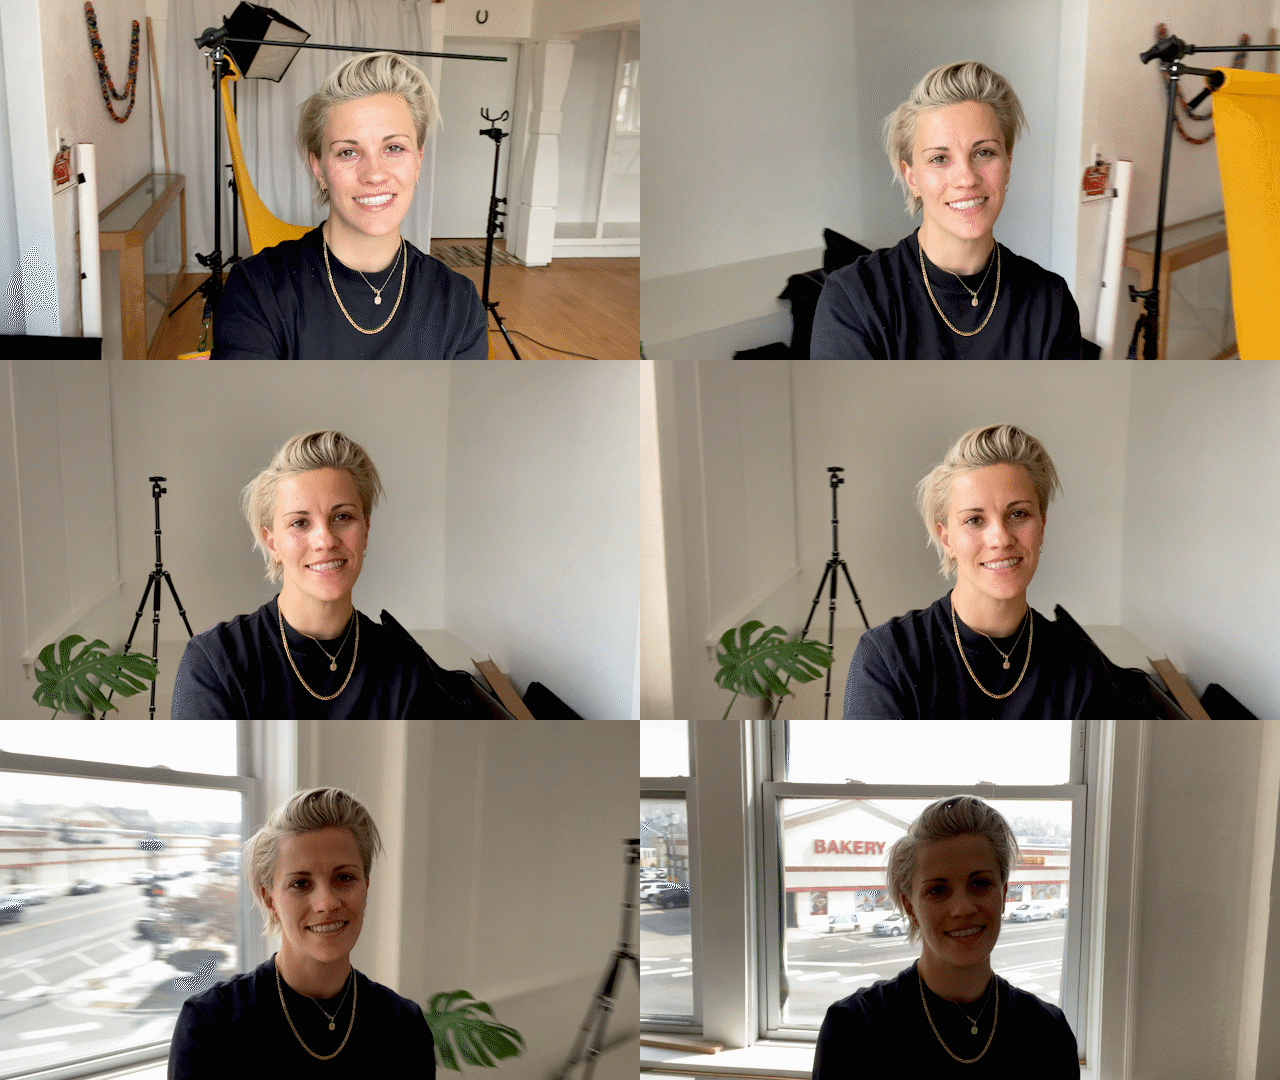
Daylight is the most powerful light source for mobile and laptop filming—yes, even on a gray day.
Cameras love light. and you can avoid grainy footage, improve your appearance on screen, and set the mood of your story by increasing your frontal light. Whether you choose to purchase a video light or use the natural light in your home or office, considering the angles of your light source will also have a major impact on your video’s quality.
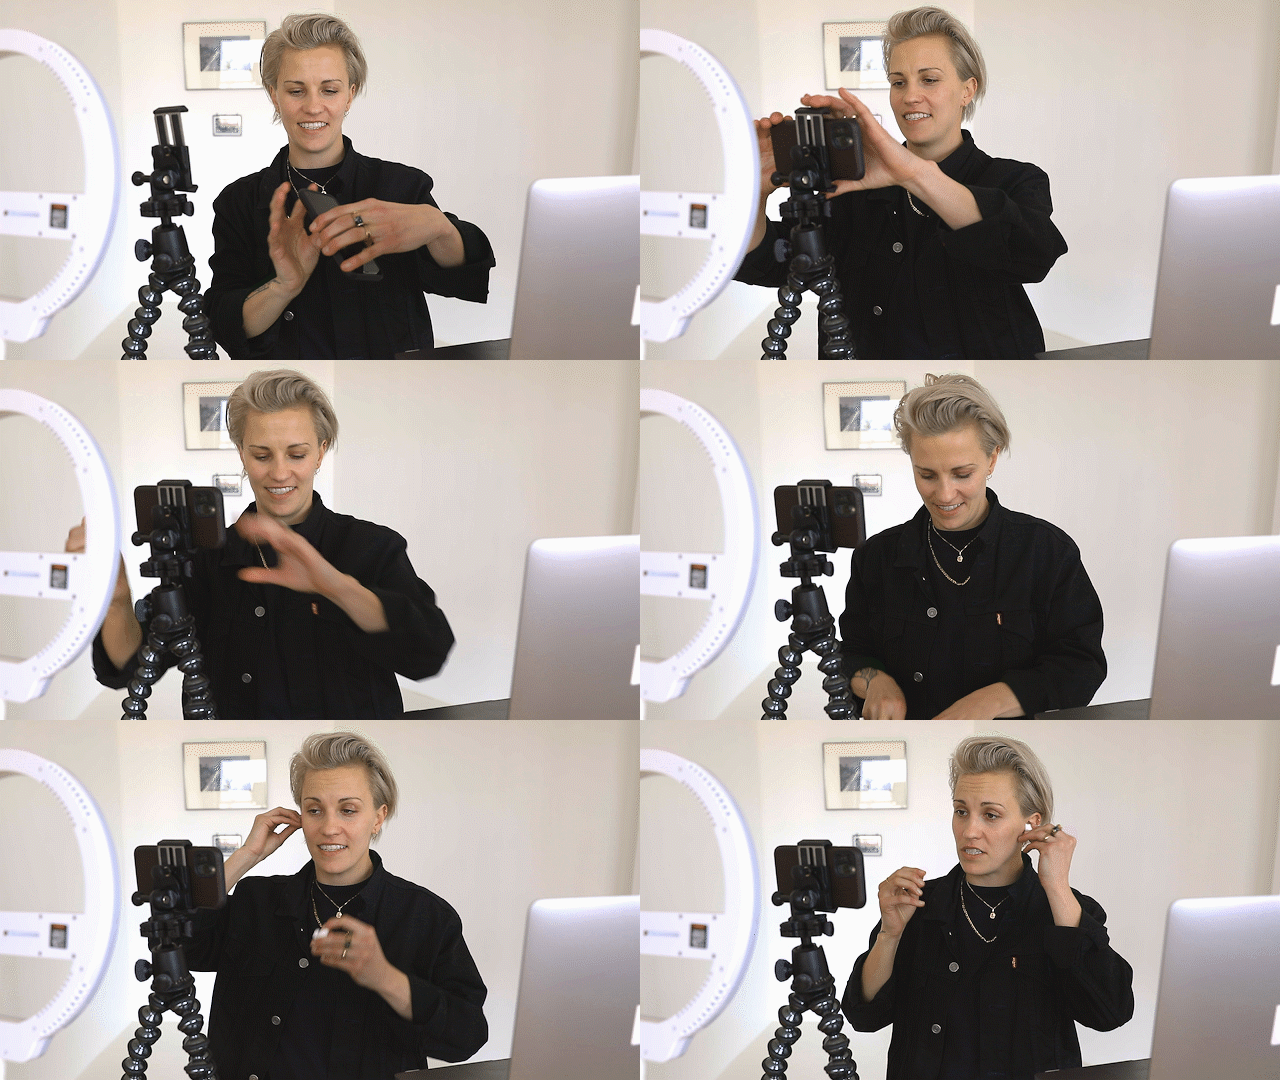
Place your camera at eye level and face your lighting source or sit at a 45-degree angle from it. Never be totally side- or back-lit. As you can see in the GIF above, simply shifting your angle can have a dramatic effect on lighting.
When you place your laptop or mobile phone between you and your light source, make sure its shadow isn’t being cast onto you.
7. Mic check
For crystal clear sound, turn off any fans, close windows and mute notifications or any other controllable elements that produce ambient noise. If you’re working from home and have roommates, ask them to be quiet during your filming session so your microphone doesn’t pick up additional voices. A good old-fashioned “testing, one, two, three” never hurts either and listening to video playback will help you catch any issues or background noise.

8. Look your best and feel confident on camera
Once you’ve set a location, light and camera, it’s time to focus on the star of the show—you!
Wear whatever makes you feel confident on camera, but keep in mind that pure white or black can be challenging to light evenly. Additionally, make sure your clothes are wrinkle-free and lint-rolled.
If you wear glasses, raise your light higher angle and to the side about 45-degrees to avoid glare in your glasses or a shadow falling on your eyes. Frame yourself chest- or waist-up and leave room above your head so you’re not cut off.
Bright lights tend to make everyone shiny, so consider powdering your face to dull any shine and even your skin tone.
It might sound goofy, but practice speaking in the mirror before you record. This will help you get used to seeing yourself, practicing your delivery, and dialing up the energy both physically and vocally to make your videos more engaging.
9. Action!
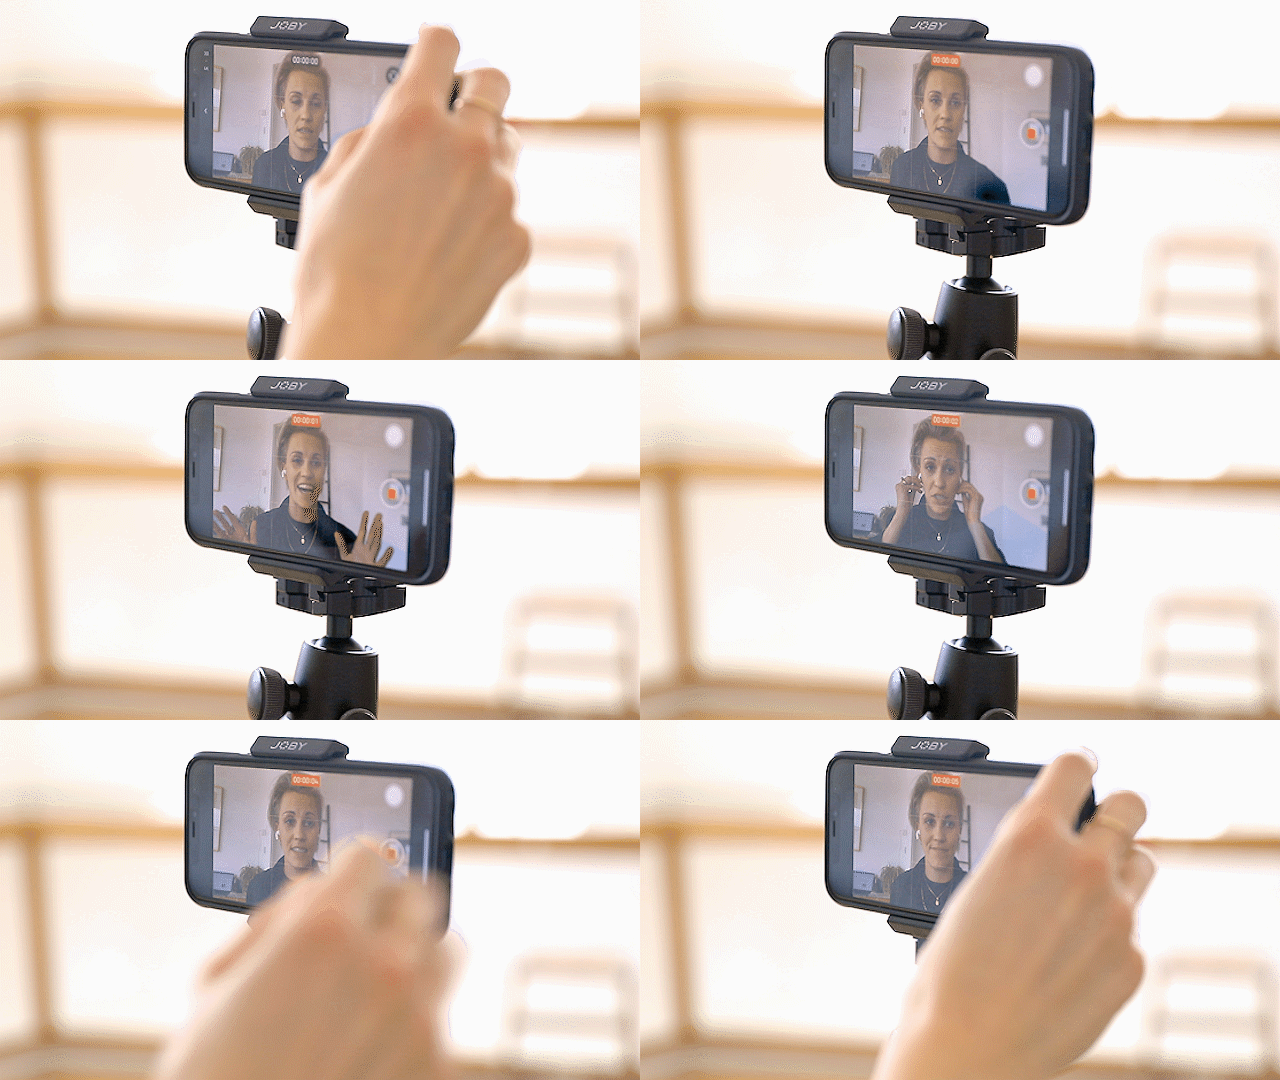
To ensure that everything looks, sounds and feels right, do a 10-second test recording so you can make any necessary adjustments. Then, test again. Once everything checks out, you’re ready to roll.
This might seem like a no-brainer, but make that when you press the capture button, you’re actually recording—there’s usually a red light or indication on your screen. Settle in, pause and smile at the camera. Remember that you don’t need to film all of your dialogue in one take. It’s common to break down your script into manageable portions that you can edit together afterward. Feel free to pause to redo takes, shake out any nerves and adjust as necessary.
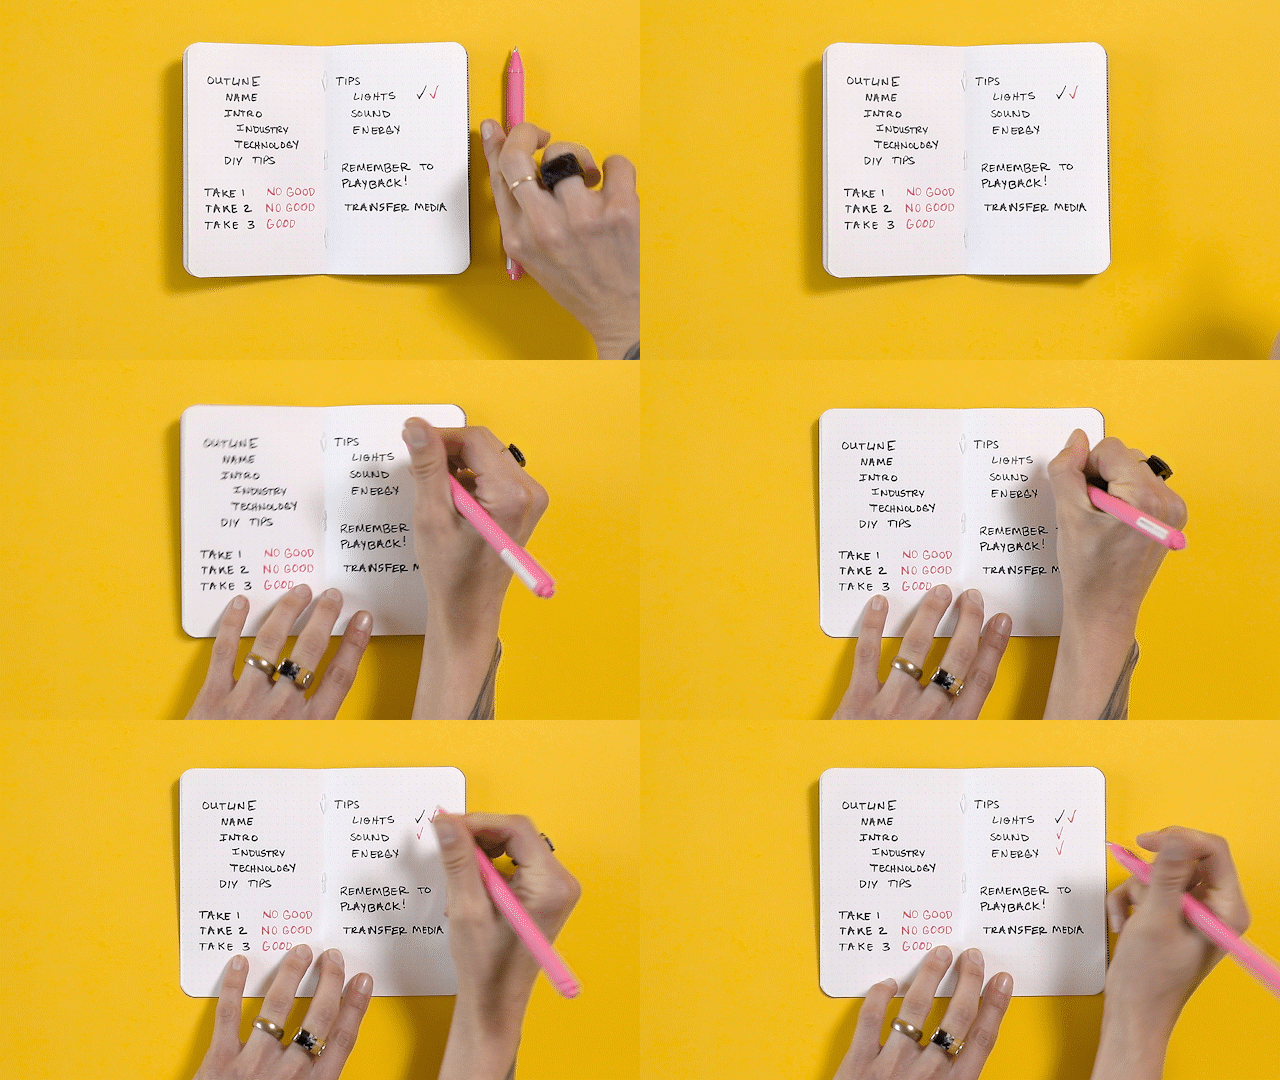
It’s helpful to take notes as you go. These can be ideas to include B-roll to illustrate a point you make, reminders for editing or takes you want to redo.
At the end of your recording, pause before reaching out to the camera to stop recording. That way, when you’re editing, you have space to trim that out.
Get the ball rolling with video content
Video content is a highly valuable and engaging way to achieve your business goals, attract new fans and spread brand messaging. Plus, it can be a simple and fun way to flex your creative muscles.
As your business pursues more opportunities for video production, make sure you have a plan for maximizing the impact of the videos you create. Download our free workbook to learn how you can extend the life, value and reach of branded video content.
This post How to elevate remote video production, step-by-step originally appeared on Sprout Social.
from Sprout Social https://ift.tt/3eGTRoZ
via IFTTT
No comments:
Post a Comment