Considering building an app? You’re in good company.
The mobile app industry is expected to be worth more than $407 billion (yes, with a B) by 2026.
Meanwhile, the average person has more than 80 apps on their phone. That represents a ton of opportunities for app builders.
However, if you think creating an app is an easy way to get rich, you are setting yourself up for failure. Building an app requires research, hard work, and a willingness to dive in and learn.
Luckily, there are tons of resources to get you started—including this guide. Below, I’ll walk you through how to build out your app idea and then share five resources to help you launch your app.
How to Build Out Your App Idea
Like any business, creating an app requires laying the groundwork before launch. Here’s a five-step guide for getting ready to launch your app, including how to do your research, ways to monetize your app, and what to include in your business plan.
Build an App Step 1: Do Market Research
Before you dive into creating your app, you first need to get a lay of the land. Who is your target audience? What other apps offer similar features or functionality? How does your app stand apart?
Start by creating a buyer persona map, which will help you understand who your audience is and what they want. Use this information to create a detailed sales plan, decide what features to include, and choose where to market your app.
Then, perform a competitive analysis to understand your competitors. The information you gain from this will be critical as you build and grow your app. Focus on what current apps do well and what they don’t. The areas where they fail can present opportunities for you to improve and take over part of their market.
For example, if your goal is to build an app that offers workout and diet recommendations, take the time to download similar apps and read their reviews. What features do people ask for, and what features do they dislike? Who is using these apps? How are they monetized?
Be thorough—you’ll use this information in the next few steps.
Build an App Step 2: Decide How to Monetize Your App
There are several ways to make money from an app. The right choice for your app likely depends on your industry, target audience, and the type of app you create. For example, games are often monetized by ads and in-app purchases, while dating apps generally charge a monthly subscription fee.
Consider each of the following monetization methods to decide which is right for your app:
- Ads: Create a free app and earn money by selling ads in your app. Duolingo uses this model, though they also offer a paid plan.
- In-app purchase: Provide a free app and then allow users to purchase add-ons, like Pokemon Go does.
- Freemium: Give users access to a limited plan for free and then charge them to access all the features, like the meditation app Mindfulness does.
- One-time payment: Charge a one-time fee to access the app. Just keep in mind you won’t have a continuing income stream for updates, redesigns, and marketing.
- Monthly subscription: Charge a small fee every month for access to the app. This helps you maintain a steady stream of income, making it easier to pay salaries and invest in marketing.
Many apps use multiple monetization methods. For example, you might offer a limited free plan and then charge a monthly subscription fee to access all features. You might even use ads to monetize the free plan and offer a paid plan that is ad-free.
There are pros and cons to each monetization method. Some users might be annoyed by too many ads or hate paying for subscription services. See what other apps in your industry do, but don’t be afraid to break the mold by trying out a different method.
Build an App Step 3: Create a Business Plan
Most people assume building an app is all about coding, but the real work actually starts long before you create your first line of code (or before you begin building it if you use an app builder).
After you get to know your audience and decide how to monetize your app, take the time to create a business plan. This plan should guide your first few years in business and keep you committed to your app’s core purpose.
According to the Small Business Administration, your business plan should include:
- Executive summary: A brief outline of your company, what you will offer, and basic information about your leadership team, location, and plans for growth.
- Company description: A detailed guide covering what problem your business will solve, who your app will serve, and what competitive advantages your app offers.
- Market analysis: A summary of your market research that covers what your app’s strengths are, trends you take advantage of, and how your app stacks up against others in the same industry.
- Structure and management: An explanation of who’s in charge of your business and how your company is structured. Are you creating a C corp or an LLC, or are you a sole proprietor? Include a list of key leaders, their CVs and resumes, and even an outline of the benefits each person brings to the table.
- Offering: A description of what your app does and how it benefits customers. Include plans for patent filings or copyright, if applicable.
- Market and sales plans: An outline of your marketing strategy and how it will adjust over time. Cover how you plan to attract and keep customers, the sales process, and where you’ll focus your marketing efforts.
- Financial projections: Information about your costs, where that money will come from, and prospective profits. Costs of creating an app may be low (especially using the app tools we’ll cover in the next section), but you’ll still need money for things like web hosting, paid ads, etc. Forecast sales for the first year, five years, and ten years, and make sure to explain how you reached those numbers and outline where funding will come from.
Build an App Step 4: Create the App
Now that you’ve laid the groundwork, it’s time to actually create your app. This might feel a little overwhelming, but it doesn’t have to be. You have three main options for building your app. Let’s explore the pros and cons of each one.
Code the App Yourself
If you are technologically savvy, you may be able to code the app yourself. Make sure you have a deep understanding of coding or the patience to learn.
Pros:
- cheap (it only costs your own time)
- full control over features, coding platforms, etc.
Cons:
- requires a deep understanding of coding
- time-consuming
Hire an App Builder
Hiring an app builder might be costly, but it could help you get the app to market faster than coding it yourself.
Pros:
- launch faster
- no need to learn coding languages
Cons:
- can be expensive
- less control over features
Use an App Building Tool
Remember when building a website required expensive programs and in-depth coding skills? Now you can build a website with just a few clicks. App building tools offer the same functionality for apps.
Pros:
- faster and easier than coding or hiring an app builder
- likely cheaper than hiring someone to build your app
- get to market faster
Cons:
- limited by the app builder’s functionality
- have to pay to use most (though they are typically affordable)
Build an App Step 5: Launch & Submit to App Stores
Once your app is built, you’ll need to test it before launch. Ask a few friends to download the app and tell you what you think. Consider using a mobile UX testing tool to see how users navigate your app and make adjustments before you launch.
Then, you’ll need to submit your app to app stores, which is where users will download it. The most popular app stores are Apple’s App Store and Google Play. Follow this guide to submit your app to the App Store and this one to submit to Google Play.
Don’t forget to optimize for app SEO! This will help you rank higher so people actually find your app.
5 Resources to Help You Build Your App
Creating an app is easier than ever, thanks in part to the variety of app tools that help you build and launch a mobile app. However, with so many options, it can be challenging to figure out which one to use.
Let’s review a few of the top app tools so you can find the right one for you.
iBuildApp
iBuildApp is a full-featured app builder that provides all the tools you need to build an app using its drag-and-drop functionality. Start with any one of their 1000+ templates, then drag and drop features to add video, images, text, and more.
This tool is ideal for building apps for e-commerce stores, education, healthcare, business, media, retail, and financial services. Brands such as the U.S. Navy, Whole Foods, SEGA, and Emory University have used this tool.
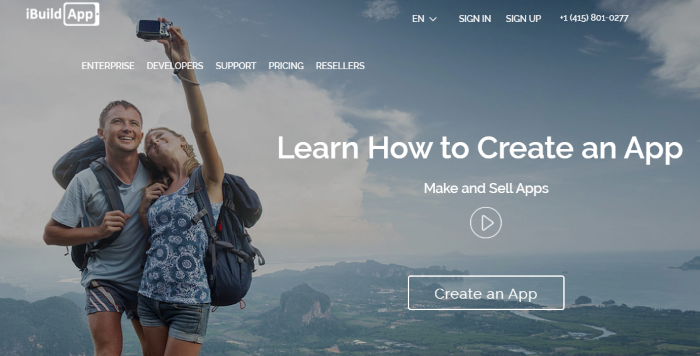
Price: Starts at $59.40 per month for one app.
Appy Pie AppMakr
Want to build an app but don’t have any coding experience? Appy Pie helps you build an app in just three steps. Choose from over 100 features, including GPS, in-app shopping, offline capabilities, and push notifications. They also offer analytics so you can measure app performance.
You can use it to create apps for dating sites, customer reward programs, chatbots, retail, restaurants, and more. They’ll even help you submit the app to app stores.
Appy Pie is used by brands like The Home Depot, Southwest, and Nike.
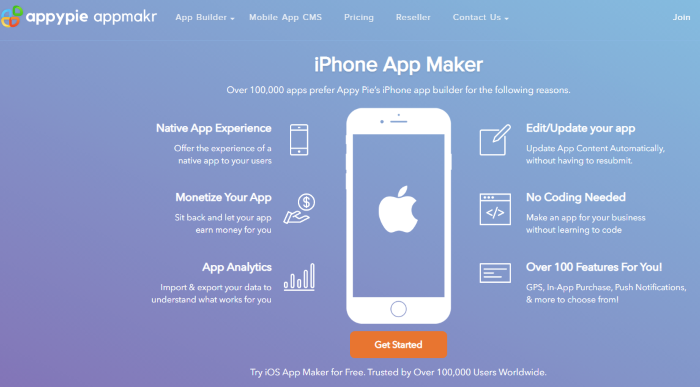
Price: Options start at $18 per month for an ad-free experience, and they also offer a free trial.
BuildFire
BuildFire is a full-featured app development tool that allows you to build an app with no coding. Use their templates and then customize your app with hundreds of features like push notifications, clocks, private portals, loyalty programs, checklists, forms, or media.
They also offer a white-label feature, which allows you to build and sell apps to clients.
Though pricier than other options, this app build tool offers a lot more tools and features, so it’s an ideal choice for building more detailed apps.
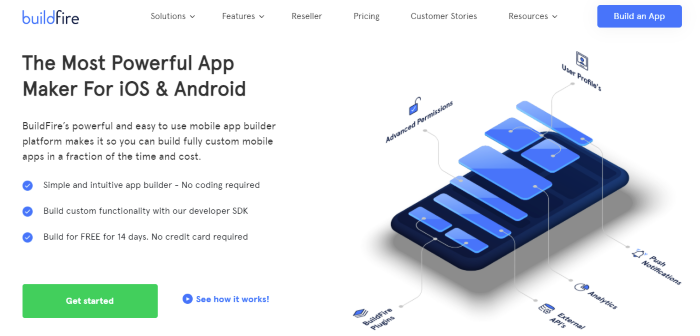
Price: Plans start at $159 per month, billed annually.
Usability Geek
Creating an app is just the first step—you also need to test the user experience. Usability Geek provides tools, resources, and UX testing guides to help your app succeed. Explore their UX courses and blog posts about usability to learn the skills you need to help your app succeed.
Offered courses cover a range of topics, including the Psychology of E-Commerce, How to Create a UX Portfolio, and Quantitative Research for UX. Some courses even offer certification.
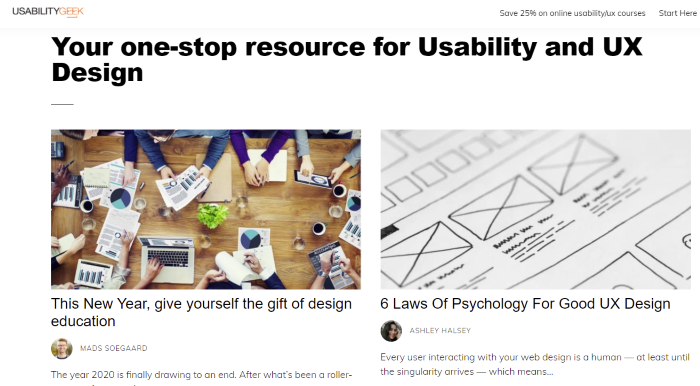
Price: Usability Geek offers free blogs about usability testing as well as paid training courses that start at $16 per month.
GoodBarber
GoodBarber is an easy-to-use app build tool designed for both e-commerce and standard app building. Like many other app tools, it doesn’t require any coding knowledge.
This tool is ideal for building apps for local delivery, retail, grocery, e-commerce, news, business, and community. Features include adding payment options, push notifications, user authentication, geofencing marketing, videos, maps, calendars, and forms.
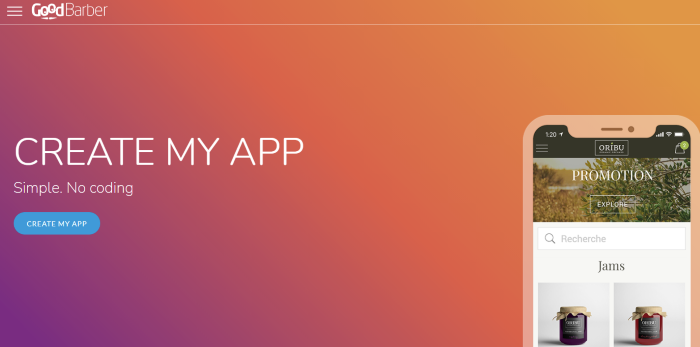
Price: Pricing starts at $25 per month for one app and includes SEO optimization, domain name, SSL security, 200 GB of storage, and unlimited pages.
They also offer reseller plans, which start at $200 per month.
Conclusion
With the help of app build tools, launching an app is easier than ever. With little to no coding knowledge, you can create, launch, and optimize your new app in just a few days.
However, building a successful app is about more than just dragging and dropping features. To be successful, take the time to create a business and marketing plan, research your target audience, and make a plan for funding your venture.
Have you built an app before? What app build tools were most helpful to you?
The post 5 Resources to Build Your App Idea appeared first on Neil Patel.
from Blog – Neil Patel https://ift.tt/2Njkfvq
via IFTTT
No comments:
Post a Comment